
Smashed Broccoli Cheese Chips
This post may contain affiliate links. Please read the disclosure policies for details.
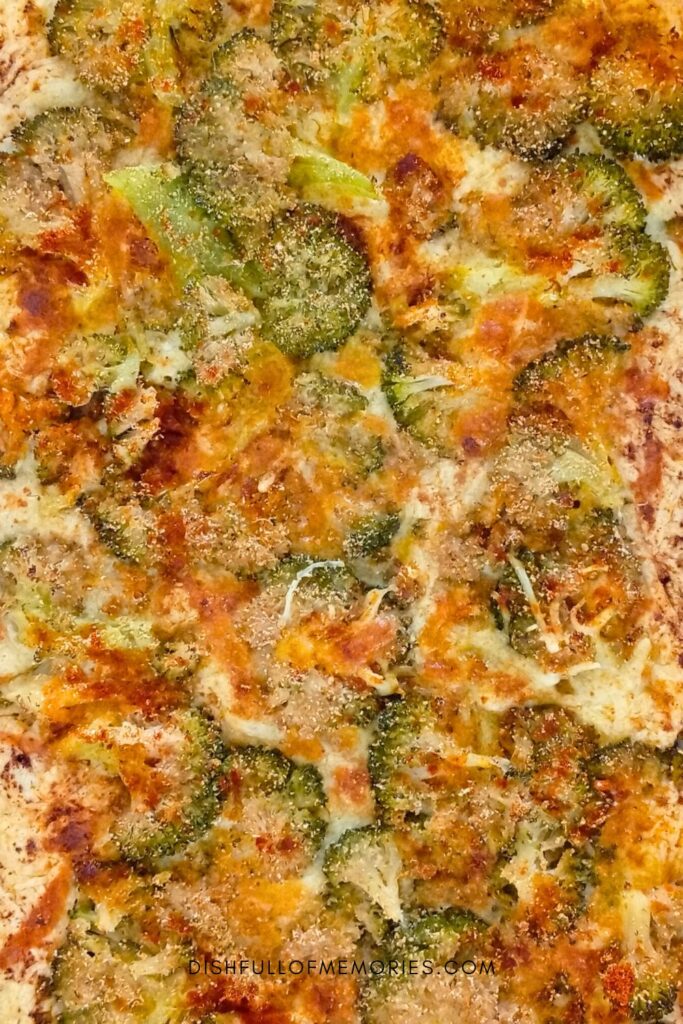
These smashed broccoli cheese chips are made by spreading shredded cheese across a baking sheet and topping it with smashed broccoli florets and simple seasonings. Everything bakes together into one large, crispy sheet of cheesy broccoli that you can break into pieces once cooled.
Looking for more vegetable side dishes? Try the vegetable recipe category for more easy ideas.
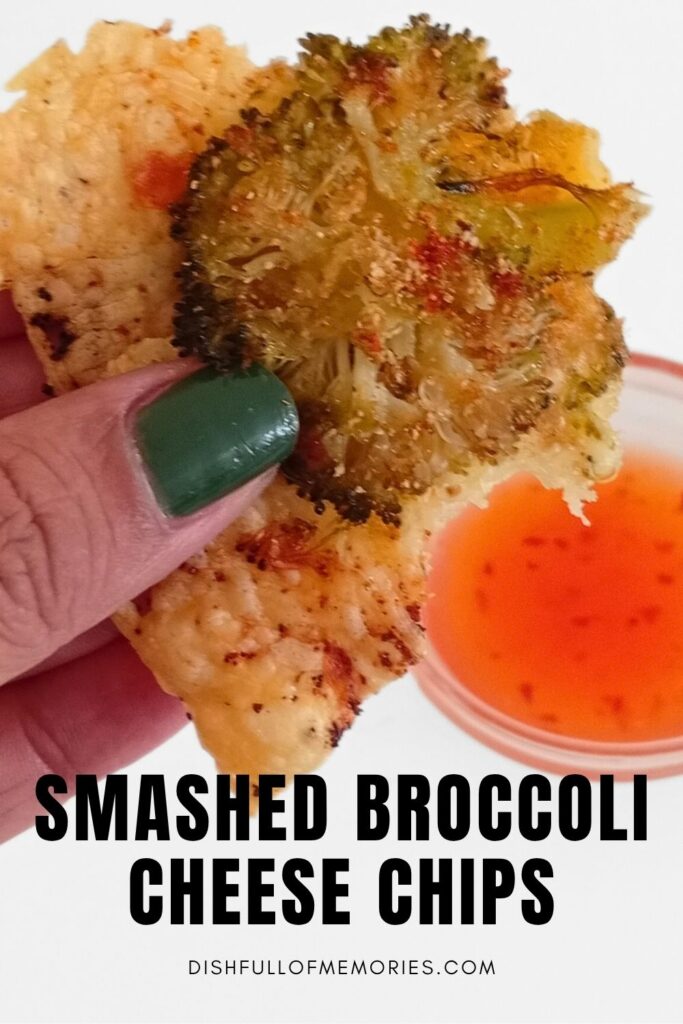
Serve these broccoli cheese chips as a low-carb snack, an appetizer, or a side dish. They are best served straight from the oven while the cheese is still crisp. You can also serve them with ranch dressing, sweet and sour sauce, or another dipping sauce.
How to Make Smashed Broccoli Cheese Chips
Briefly boil the broccoli florets until just tender, then drain and dry them well. Spread the shredded cheese evenly across a lined baking sheet, arrange the broccoli florets randomly over the cheese, and flatten them with the bottom of a sturdy glass or measuring cup. Sprinkle with garlic powder, onion powder, and paprika, then bake at 400°F for 20–30 minutes, until the cheese is golden and crispy. Let the sheet cool before breaking it into pieces.
You can use cheddar, mozzarella, Monterey Jack, or a combination of cheeses. Add a pinch of cayenne pepper or chili powder for some heat, or finish with a little grated Parmesan for extra savory flavor. For the crispiest results, dry the broccoli thoroughly after boiling and leave space between the florets.
Continue below for the full recipe with ingredients and step-by-step instructions.

Broccoli Cheese Chips Recipe
Crispy, cheesy broccoli chips made by baking shredded cheese and smashed broccoli florets together into one large sheet. Seasoned with garlic, onion, and paprika, they’re easy to break into pieces and serve as a snack or side dish.
These snacks fit low carb and vegetarian diets.
Ingredients
- 7 oz broccoli florets
- 7 oz shredded cheddar cheese or cheese of choice
- ½ tsp garlic powder
- ½ tsp onion powder
- ½ tsp paprika
Instructions
- Preheat the oven to 400°F. Line a baking sheet with parchment paper.
- Bring a pot of water to a boil. Add the broccoli florets and cook for 3–5 minutes, until just tender.
- Drain the broccoli well and pat dry.
- Spread the shredded cheese evenly over the prepared baking sheet.
- Arrange the broccoli florets randomly over the cheese and flatten them with the bottom of a bowl or measuring cup.
- Sprinkle the garlic powder, onion powder, and paprika evenly over the broccoli.
- Bake for 20–30 minutes, until the cheese is golden and crispy.
- Let the sheet cool completely, then break it into pieces and serve.
Notes
Let the chips cool completely, then store them in an airtight container in the refrigerator for up to 3 days. They will soften during storage.
Nutrition Information:
Yield: 4 Serving Size: 1Amount Per Serving: Calories: 226Total Fat: 17gSaturated Fat: 10gUnsaturated Fat: 8gCholesterol: 50mgSodium: 347mgCarbohydrates: 6gFiber: 2gSugar: 1gProtein: 13g
The nutritional information provided is automatically calculated. These figures should be considered estimates.


